Why measure gloss?
Gloss is an aspect of the visual perception of objects that is as important as colour when considering the psychological impact of products on a
The functionality of a manufactured product or its perceived quality is often linked to its transparency. Matt shipping labels require good contact clarity which allows QR codes to be read on high-speed conveyor lines, while recycled salad trays are preferred with low haze so the consumer can appreciate the vibrant colours of packed vegetables.
To optimise and improve transparency, a constant inline measurement of key parameters is more efficient than occasional offline measurements. Instant feedback from an sensors allows fine tuning of a process, ultimately achieving a better-quality product, with measured consistency throughout every production run.
Materials with high optical quality have low visual impact on objects viewed through them. The material itself is visually unobtrusive and almost invisible to the observer.
A hazy material causes colour seen through the material to appear washed out or faded. The severity of this loss of contrast is often related to the size of the gap between the object and the material.
A material which blurs the view of objects has low sharpness- this effect can be directional causing a visible pattern to be seen in the material.
Materials with poor optical qualities are visually intrusive and can be described as milky or opalescent. Patterns and texture which may be visible in the material drastically blur viewed objects.
The Rhopoint ID measurement technology (patent pending) was jointly developed with Eidgenössische Technische Hochschule (ETH) Zürich.
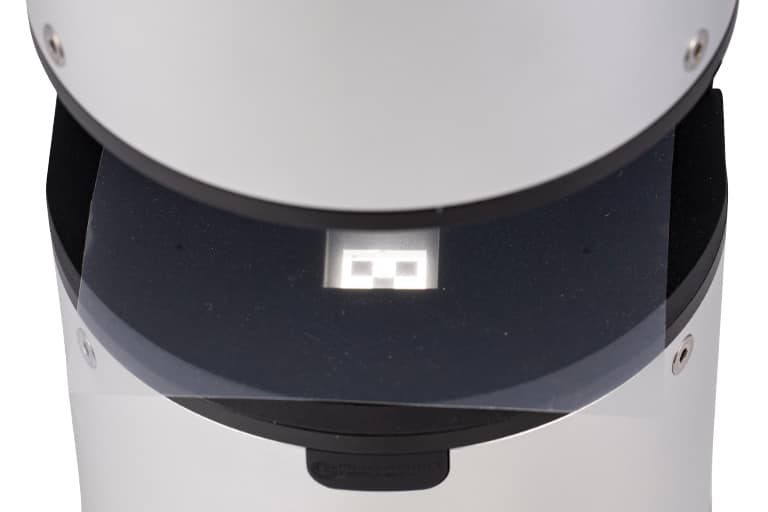
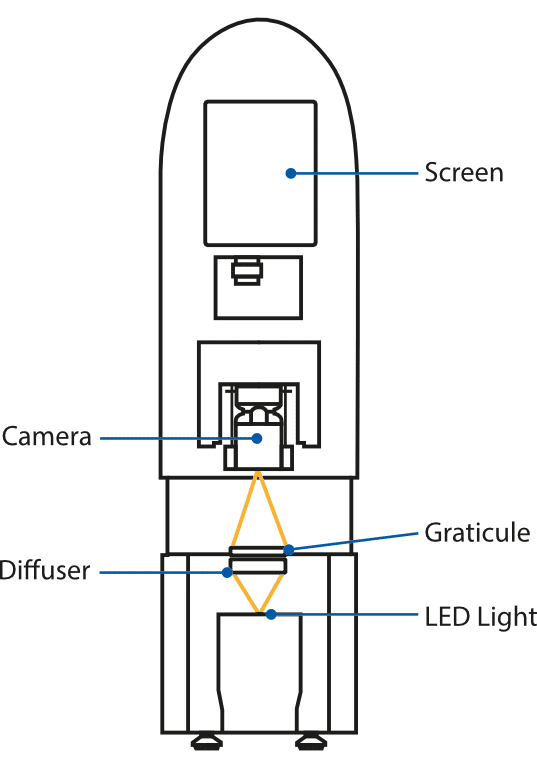
The Rhopoint ID-Inline is a camera-based system which fully quantifies product transparency with parameters that are highly correlated to human perception.
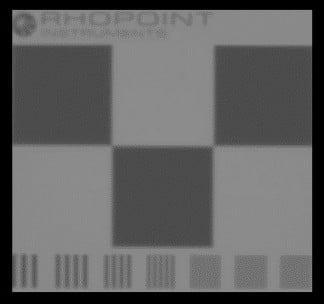
A backlit, high accuracy, reference target graticule functions as the viewed object, creating a highly defined pattern of light intensities with optimally sharp transitions between the backlit and masked areas.
The camera works like the human eye quantifying changes in the transmission of the light caused by a test material.
Image analysis techniques are used to characterise these effects into parameters which correlate closely with human perceptions.
There are two versions of the Rhopoint ID-Inline. A short focal length version which has a separation distance of 45mm between the camera and graticule, or the long focal distance version which has a separation distance of 170mm.
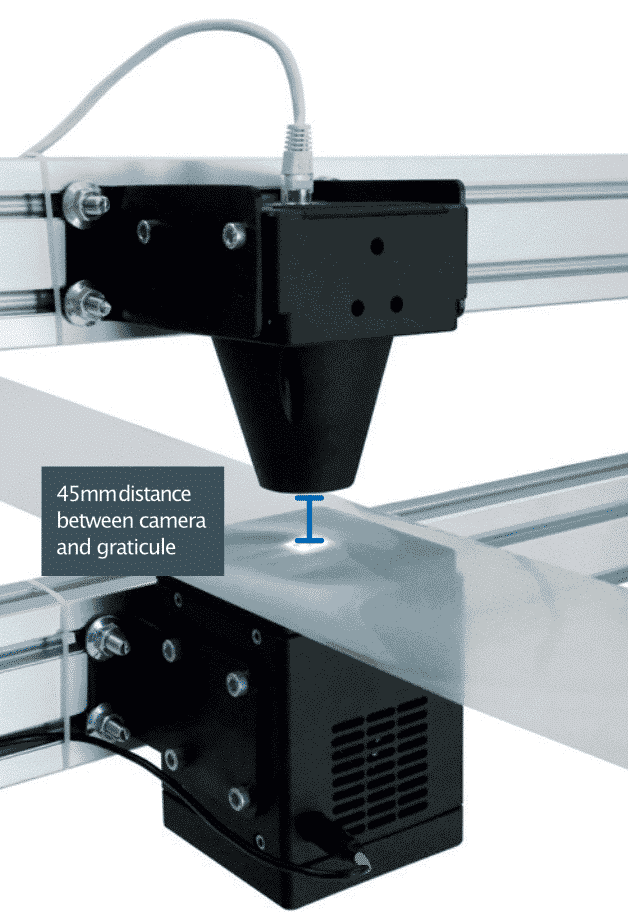
The Rhopoint ID-Inline can be used for non-contact measurement of any sheeted or planar material - including plastic films, or glass. The Rhopoint ID-Inline can also be used for non-contact inline measurement of glass or plastic tubes.
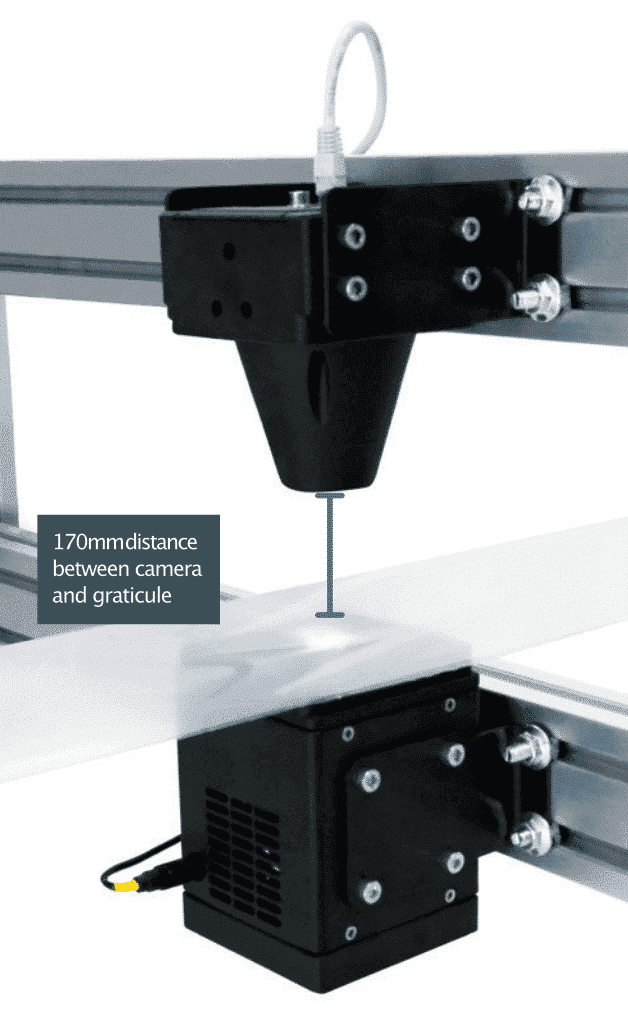
This version is most suitable for production processes where the large focal distance is more suited to the customer production line.
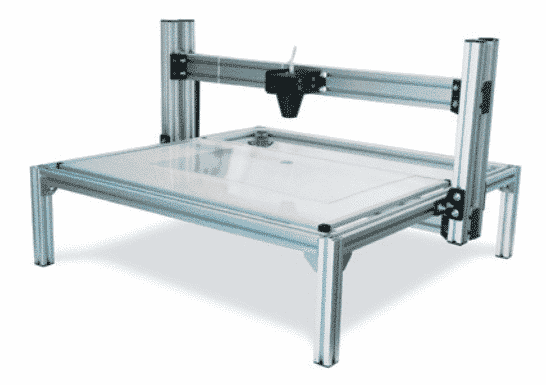
Either version can be incorporated into an inspection station for 3D parts or large sheets of plastic or glass.
Standard or extended clearance models are available to encompass a wide variety of parts and installation configurations.
Flexible software allows single or multiple ID sensors to be combined with compatible measurement devices and tabulated in the Rhopoint ID laboratory software.

Up to 10 Rhopoint ID-Inline units can be connected simultaneously to a SAP/process control package using the Rhopoint ID TCP/IP connection client. This solution allows independent remote control of each instrument, measurement data is exchanged using Rhopoint TCP/IP protocol.
The TCP/IP client is designed to facilitate fast efficient operation of multiple devices by the SAP/process control package. Up to 10 measurements per second are possible from each sensor. The client can be hosted on a local PC or server.
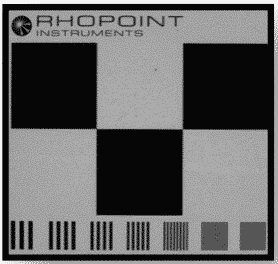
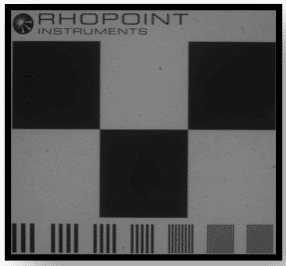
Haze: quantifies the loss of contrast for objects viewed through a material.
When a material has haze, it changes the appearance of both the material and any objects viewed through it. This can lead to a reduction in perceived quality.
Measure Haze with the Rhopoint ID to ensure visibility of products are at their best and can be seen properly by the customer.
| Perception | Description |
|---|---|
| No Haze |
|
| Perfect Sharpness |
|

H = 0%
S = 100%
T = 100%
| Perception | Description |
|---|---|
| Medium Haze |
|
| High Sharpness |
|
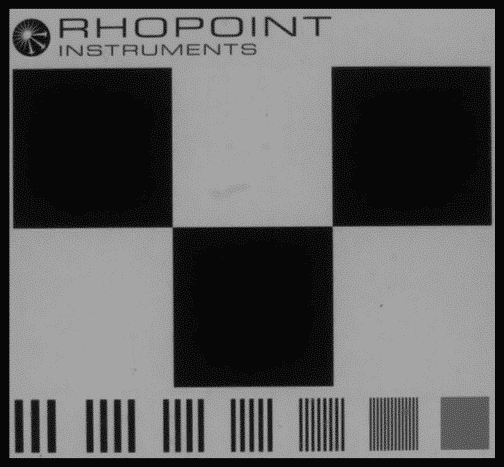
H = 10.4%
S = 92.32%
T = 92.3%
| Perception | Description |
|---|---|
| High Haze |
|
| Low Sharpness |
|
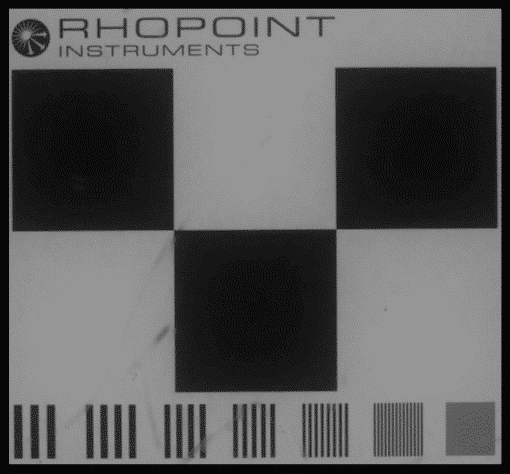
H = 30%
S = 78.8%
T = 89.7%
Haze can be affected by factors such as the choice of resin, the moulding process and any surface textures. Haze can be caused by:
For example, a plastic with an incorrect melt viscosity for a particular process.
Cooling a plastic material too quickly can introduce micro textures onto the surface of the film or structures in the bulk which reduce optical quality.
Wear and tear in moulds, chill rollers and slip dies can induce visible surface defects in the material.
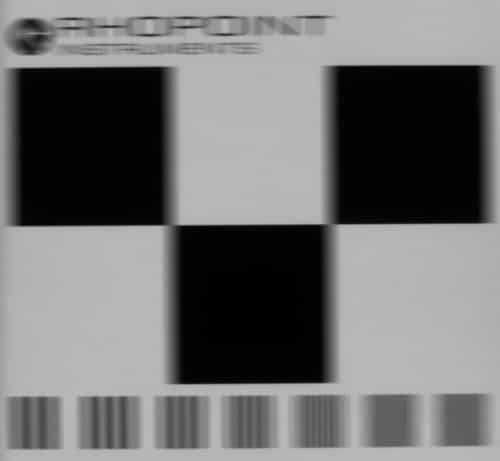
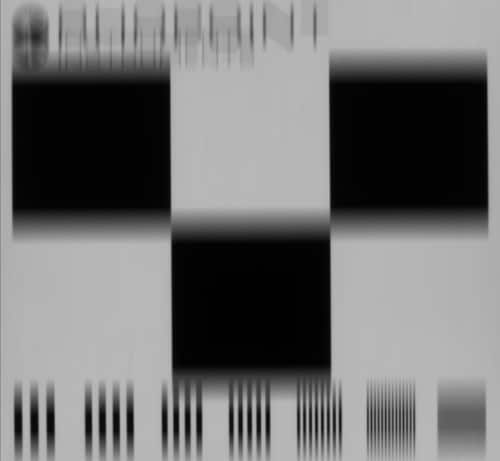
Sharpness quantifies the loss of perceived detail for objects viewed through a material.
When viewed through a material with high sharpness, an object appears sharp and distinct. As material sharpness decreases, the object appears blurry and obscured.

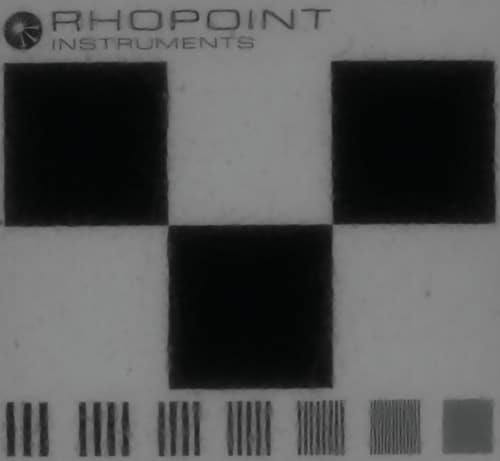

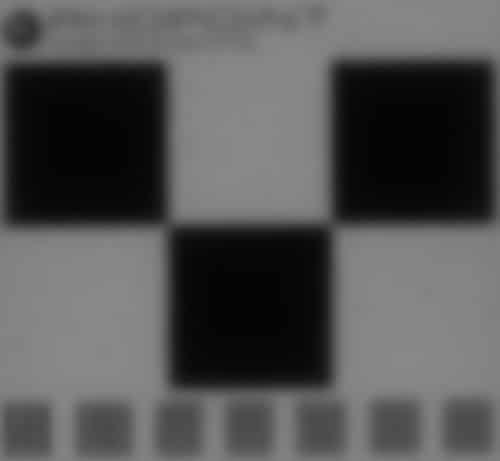

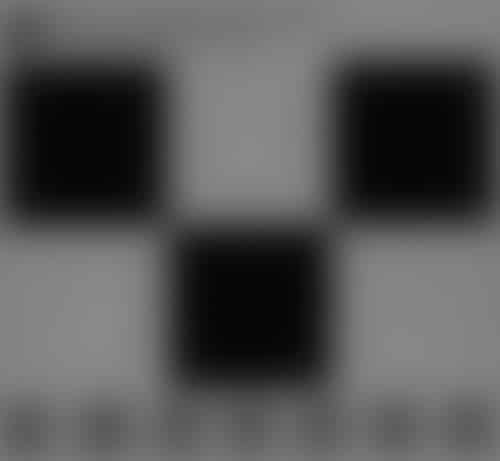


A material can often exhibit optical effects which are directional. These phenomena are often induced in plastic parts by specific processing faults.
Visible texture is a common feature of plastic films and causes a significant reduction in their see- through quality.
The Rhopoint ID is the only instrument that can measure directional effects in materials using the ID laboratory analysis software.
The images to the right show the visual impact of different ID Sharpness (S) values in vertical and horizontal directions.
Measuring directional effects can be used in advanced optical quality control and for adjusting processing parameters to obtain optimal transparency.



Note: Clarity and Sharpness do NOT capture poor optical characteristics associated with wavy/orange peel surfaces.
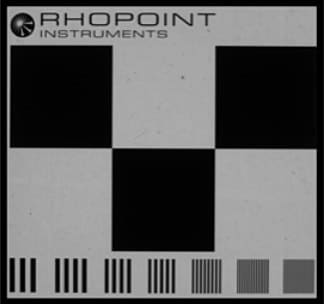
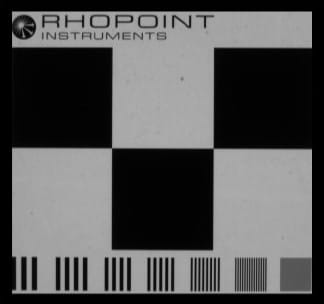
Quantifies the blurriness of an object when viewed through a material, results are proportionate with Sharpness, but the measurement scale is compressed and the measurement resolution is reduced.
Clarity is a scale used by traditional haze and clarity meters. When measured using the 8mm adaptor plate, Rhopoint ID Clarity data conforms to specifications written for these meters.
Inter-instrument Clarity agreement between Rhopoint ID and traditional sphere instruments for commercial plastic films (<1000μm) is typically <0.4% C (SD).
Inter-instrument Clarity agreement between traditional sphere instruments and Rhopoint ID for thick transparent plastic materials (<6mm) is typically <0.5% C (SD).



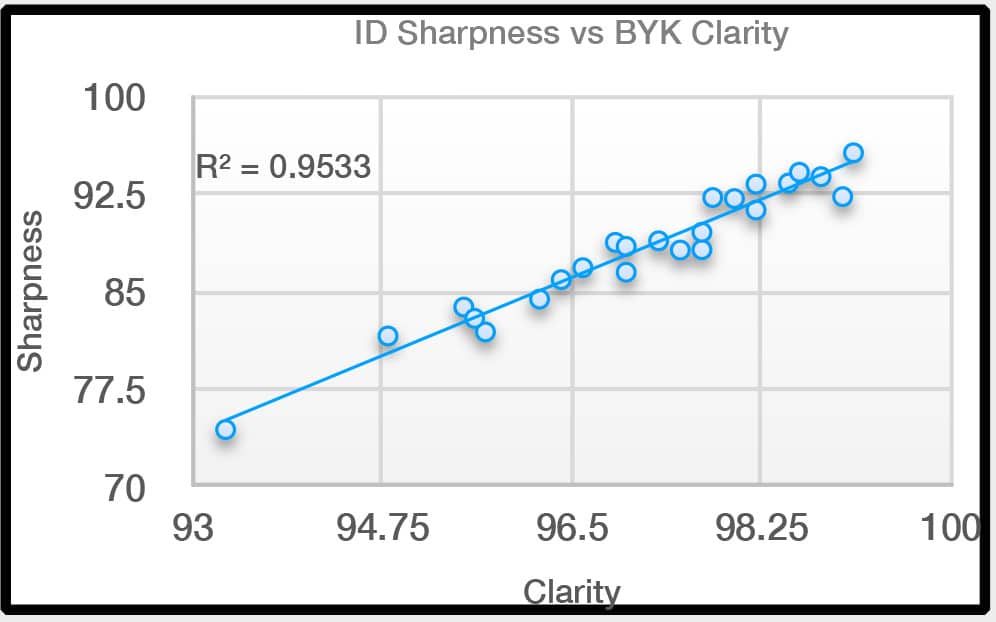
Better measurement resolution than clarity.
Compatible measurement with existing measurements.
When considering how material is perceived by a consumer it is important to consider how bright an object viewed through it will appear.*

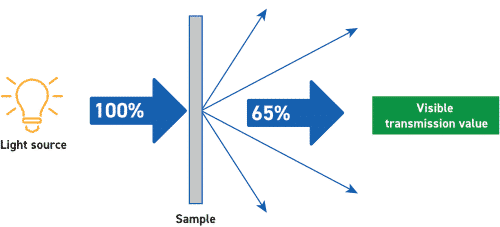


*Traditional hazemeters measure total transmission which is related to light absorption not visual perception
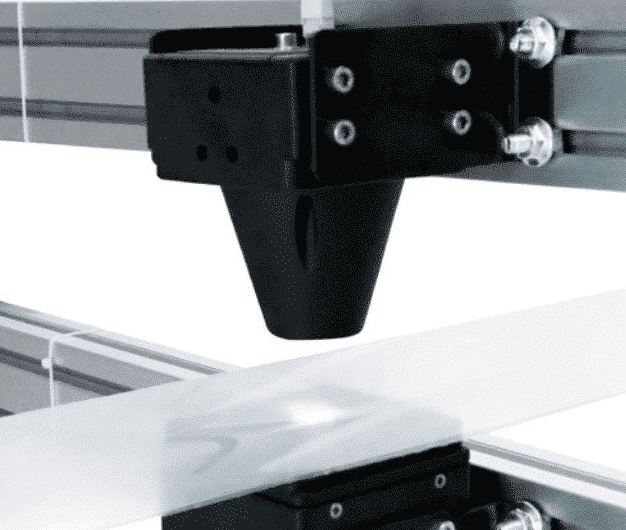
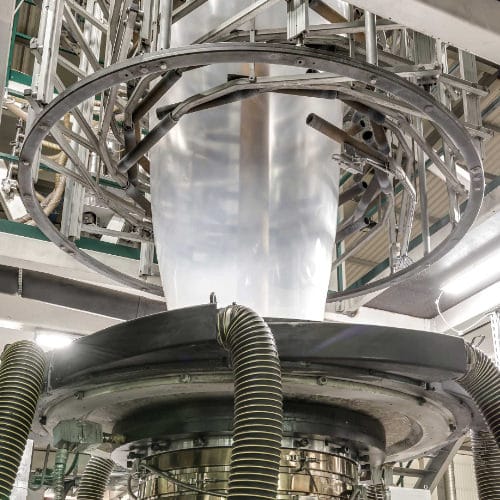
Continuous measurement of in-line process including:
The Rhopoint ID-Inline can be used for contactless measurement of transparency at multiple points around the film bubble
A single Rhopoint ID-Inline sensor can be translated across a film web or multiple sensors placed at intervals

Rhopoint ID-Inline sensor and light source are independent and can be placed over a large measurement area
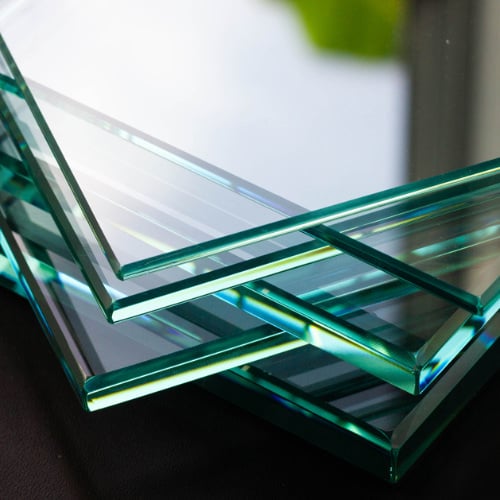
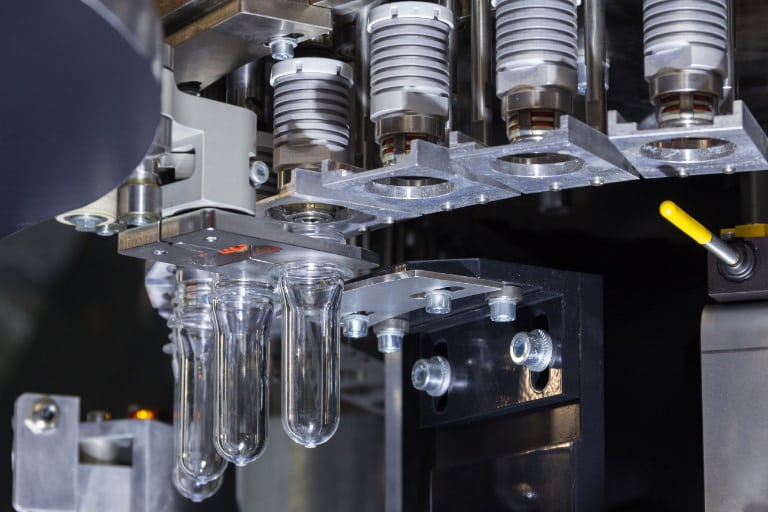
Glass, plastic or silicone tubes can be measured with an inline Rhopoint ID-Inline

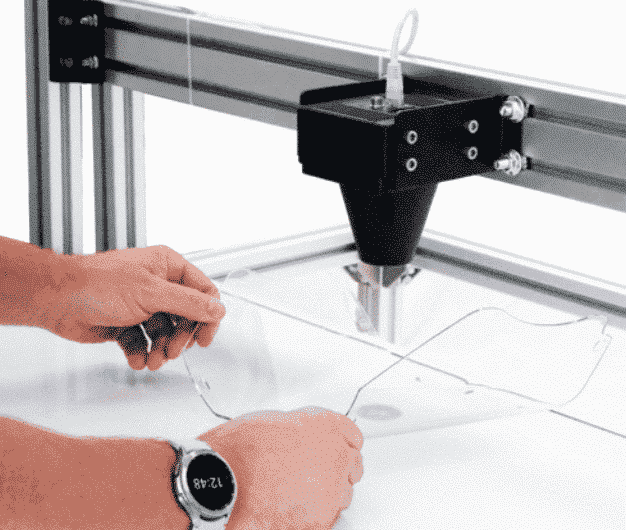
Recommended for large object measurements including:
The large separation distance of the Rhopoint ID-Inline extended clearance sensor allows large 3D objects to be manoeuvred into position for measurement
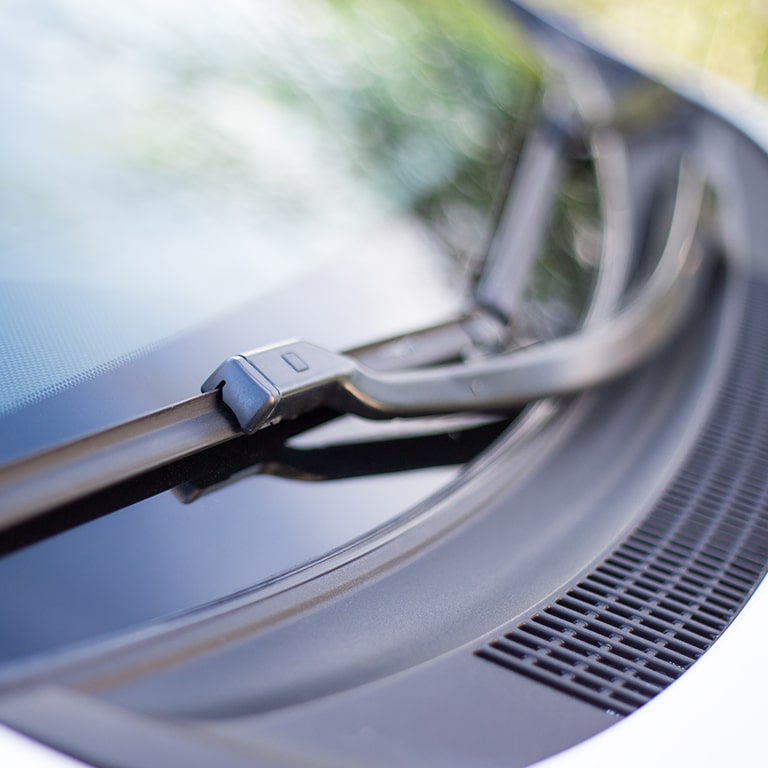
The IDTX sensor can be built into a large bespoke measurement station allowing large sheets of plastic or glass to be measured easily
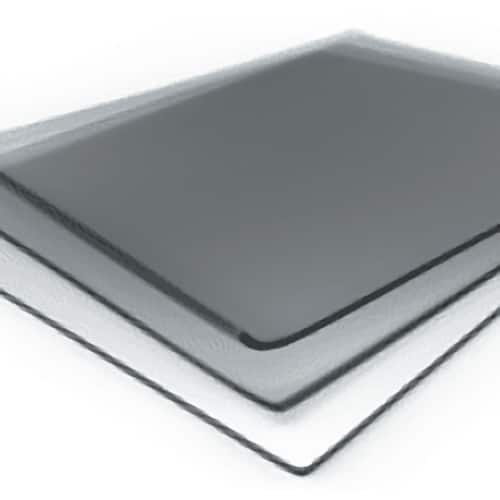
3D objects such as visors or transparent trays that are too large to be easily measured on the bench-top ID can be measured using a bespoke inspection station
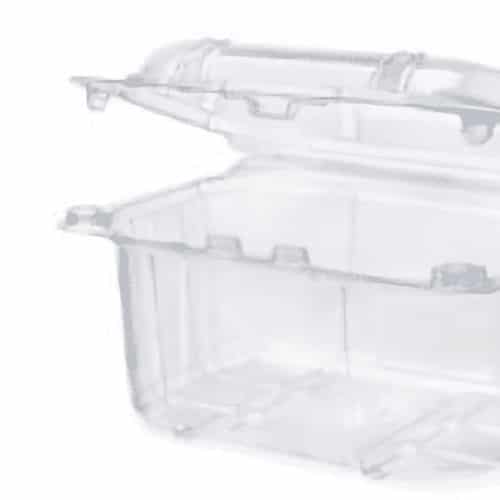
The Rhopoint ID has been designed to measure samples for haze, transmittance and sharpness quickly and safely.
Eliminates risk of mechanical failure
Highly representative measurement throughout production run
No chance of dust/dirt contamination
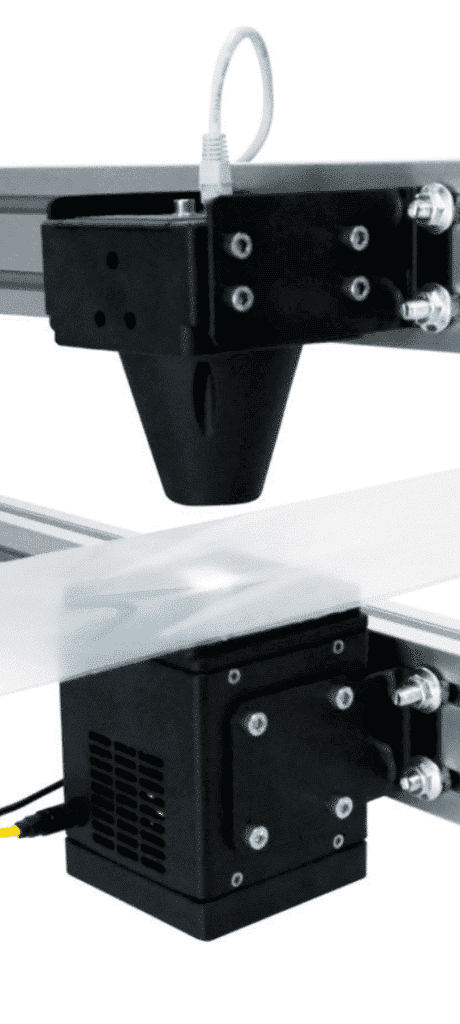
Flexible installation options allow multiple sensor installation
Can be fitted by an in-house engineering team
Single or multiple Rhopoint ID-Inline sensors can be used with IDTX-L software with image analysis and project saving capabilities.
Connect to internal systems for full product control – ready for industry 4.0.
Connect to Rhopoint ID-Inline sensors from any PC on the same network – access live images using Rhopoint ID software.
The Rhopoint ID-L analysis software enables detailed visual analysis of the sample using LIVE VIEW. Statistical analysis of multiple test results is shown for each measured parameter. • Saves all the results as a CSV file
| Sharpness | Haze | Clarity | Transmission | |||
|---|---|---|---|---|---|---|
| Range | 0-100% | 0-10% | 10-100% | 0-100% | ||
| Resolution | 0.01 | 0.01 | 0.01 | 0.01 | 0.01 | |
| Repeatability SD | 0.1 | 0.05 | 0.05 | 0.03 | 0.05 | |
| Reproducibility SD | 1 | 0.2 | 0.5 | 0.3 | ||
| Inter-instrument Agreement Rhopoint ID vs Traditional Haze & Clarity Instrument SD* | N/A | 0.2 | 0.5 | 0.4 | N/A | |
| Effective Operating Range | Materials T > 50% | Materials T > 50% | Materials T > 50% | |||
*Typical values- packaging film <1000µm
| Instrument Information | ||
|---|---|---|
| Material Thickness | < 30mm | |
| Software | ID Analysis or TCP/IP Client | |
| Connection | POE LAN | |
| Spatial Resolution | 9µm/pixel | |
| Measurement Image | 12.5mm x 12.5mm | |
| Minimum Measurement Area (Haze, Sharpness) | 12mm x 8mm | |
| Minimum Measurement Area (Transmittance) | 12mm x 8mm | |
| Image Format | 16-bit .TIFF | |
| Image Size | 1400 x 1400 pixels | |
| Operating Temperature | 10ºC - 40ºC | |
| Dimensions | Short focal distance - 270mm (H) x100mm (W) x100mm (D) Long focal distance - 440mm (H) x 100mm (w) x 100mm (D) | |
| Weight | 1.1kg | |
| Packed Weight | 5.0kg | |
| Light Source Unit Power | 12V DC/2A | |
| Camera Unit Power | Power Over Ethernet (POE) | |
| Product | Included Accessories | Order Code |
|---|---|---|
| Rhopoint ID In-line Short Focal Distance (45mm) | Haze check standard, USB stick with software and licence, power connector, value = 10% | A3100-101 |
| Rhopoint ID In-line Long Focal Distance (170mm) | Haze check standard, USB stick with software and licence, power connector, value = 10% | A3100-100 |
| Individual Check Standards | 10% or 20% | 10% - B3100-005 20% - B3100-006 |
| Calibration Standards Set | 1, 5, 10, 20, 35 | B3100-007 |
| Transmission Check Standard | 70% | B3100-008 |
Free extended 2 year warranty: Requires registration at www.rhopointinstruments.com/help-services/forms-feedback/instrument-registration/ within 28 days of purchase. Without registration, 1 year standard warranty applies.
Fast and economic service via our global network of accredited calibration and service centres. Please visit www.rhopointinstruments.com/help-services/calibration-servicing/ for detailed information.
Gloss is an aspect of the visual perception of objects that is as important as colour when considering the psychological impact of products on a
Identify the surface that you wish to measure. Is it a flat surface? If so, it can be measured with a traditonal glossmeter. Curved surfaces
RSpec is the peak reflectance measured over a very narrow angular band in the specular direction (+/-) 0.0991º. RSpec is very sensitive to any texture
Please note, this is NOT a quotation, just a confirmation of the price when purchased in the UK exclusive of VAT/duties