Why measure gloss?
Gloss is an aspect of the visual perception of objects that is as important as colour when considering the psychological impact of products on a
Instrumental analysis of surface appearance, roughness and waviness in the automotive painting process.
A product jointly developed by Rhopoint Instruments and Volkswagen AG. A beautiful smooth finish is a key aim when painting a vehicle. The quality of this finish is determined by the surface roughness & waviness of the raw material to be painted and the effectiveness of each subsequent coating process as well as any polishing or sanding operations.
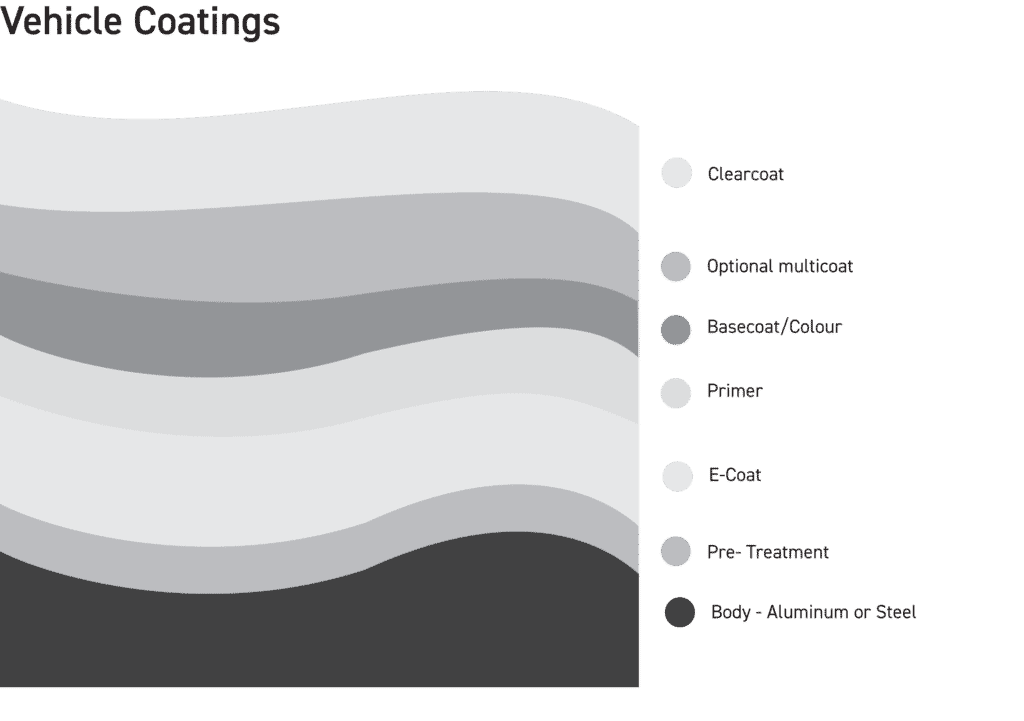
The coating system is built of many layers. As each layer is applied, it tends to smooth the material. Measuring the surface at each stage gives opportunities to optimize the overall paint process and understand the factors which most influence the final appearance.
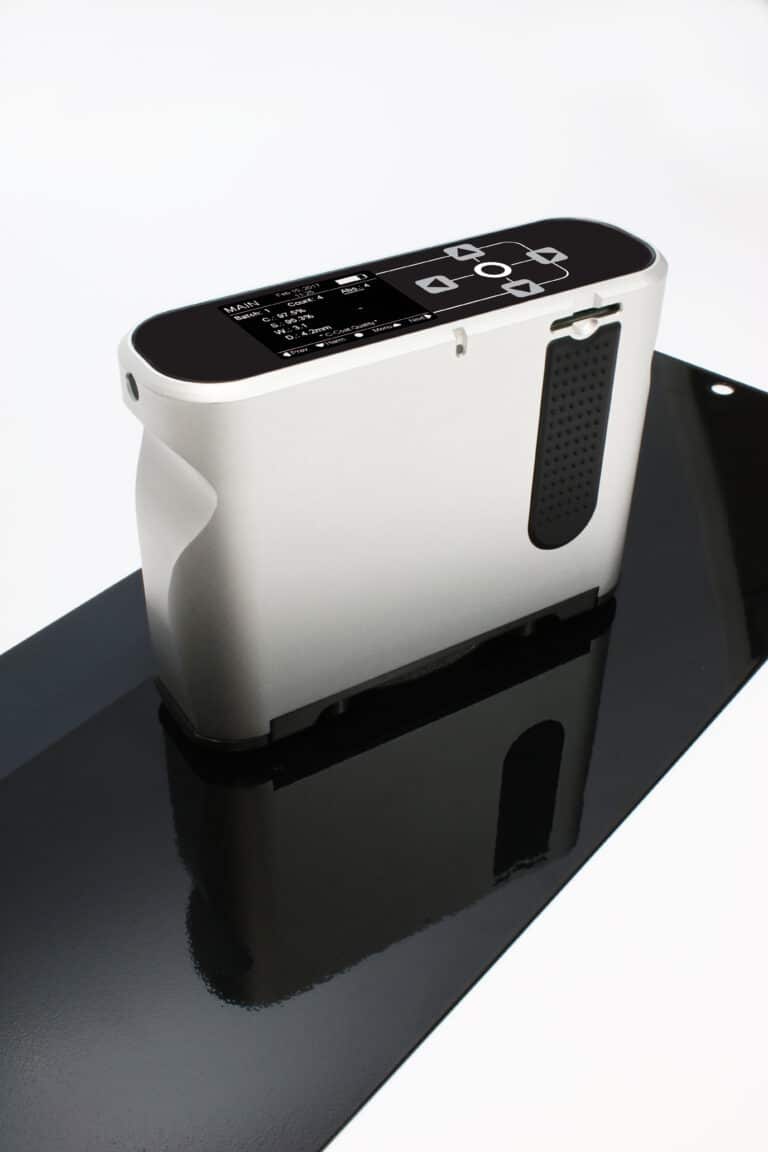
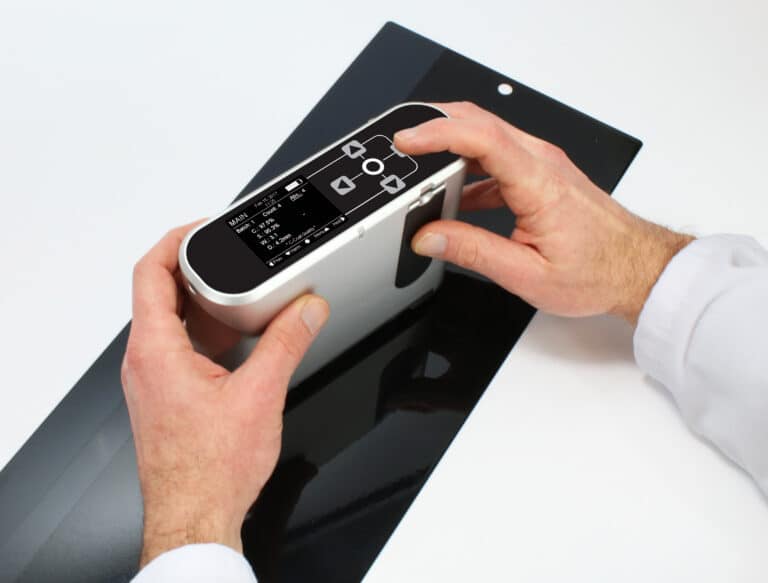
The Rhopoint TAMS® can measure and map surfaces at all stages of paint processes from raw material to final topcoat.
This innovative device has many of the advantages of the high-resolution analytical tools combined with the portability and accessibility of a hand held device.
To evaluate the suitability of raw materials, to optimize individual processes and to build a complete picture of how the quality of the final product is influenced at each paint stage, analytical data is needed to understand how each paint process fills, smooths and masks the underlying roughness from the base material such as steel and aluminum.
Widely used laboratory devices producing 3D topographical maps with a sub-micron accuracy and resolution can only be used off-line, and measurement time is also a limiting factor as capturing a representative area on a surface may take many minutes or even hours. The high costs of the equipment and complexity of use usually limit deployment of analytical tools to central development functions in the OEM.
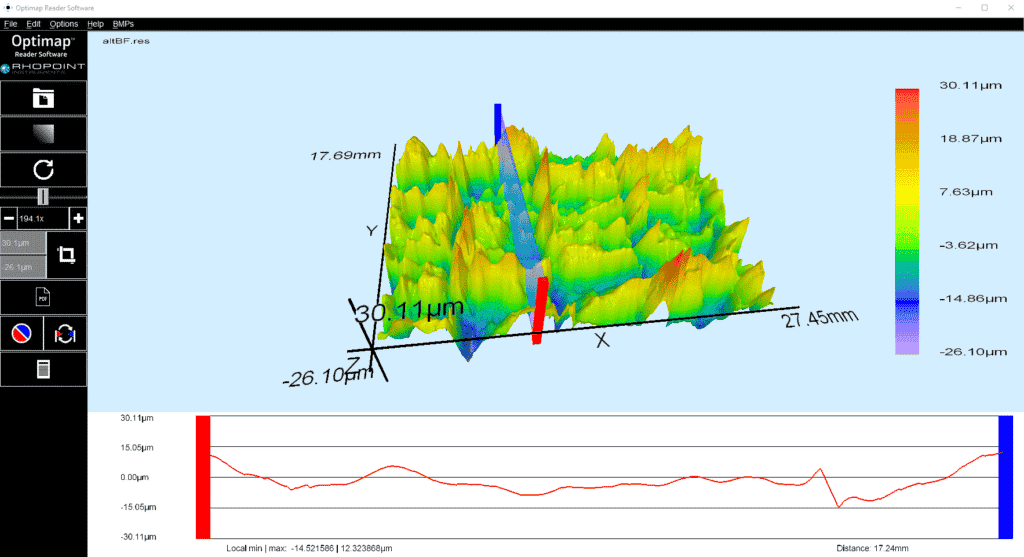
Fully portable TAMS® measures these surfaces with sub micron resolution, in situ in under 10 seconds . Measurements are taken according to DIN EN ISO 4287 (like optical Ra), or DIN EN ISO 25178 for a real topographic information (like Sa), but all topographic information may be exported in open *.res format for deeper analysis with commercial topographical analysis software.

The intermediate production step of E-coating (also known as Electrophoretic Painting, Electrocoating, Electropainting etc.) is a high-tech process that has a impact on the final quality and thus requires as much control as any other production step.
Controlling the E-coat with Rhopoint TAMS® and its advanced quality parameters, e.g. ISO GPS texture analysis topographic roughness indices like Sa, gives complete documentary overview of the paint process.
This can result not only in better final quality but also in lower unit costs.
All measurements are compatible with Rhopoint’s own free image analysis software “Optimap Reader” included in the price of the TAMS®.
Similar to the Raw Material mode, all topographic measurements taken are compatible with Rhopoint‘s Optimap Reader software or any commercial topographical analysis software.
Not only relevant topographic indices can be analyzed. For simplicity, Rhopoint TAMS® enables easy documentation and reporting by using Rhopoint Quality indices to judge overall quality of an E-coat.
For maximum visual impact, an automotive paint finish must instantly produce an appealing visual sensation for the customer

Clear coat measurements are made by the Rhopoint TAMS® by measuring a 2D area of the surface from a fixed measurement position.
Improved correlation to visual perception and its easily communicated parameters gives the Rhopoint TAMS® a major advantage other methods currently used in the automotive industry which product complex results.
The appearance quality, as judged by the consumer, is determined by surface texture which reduces its visual impact.
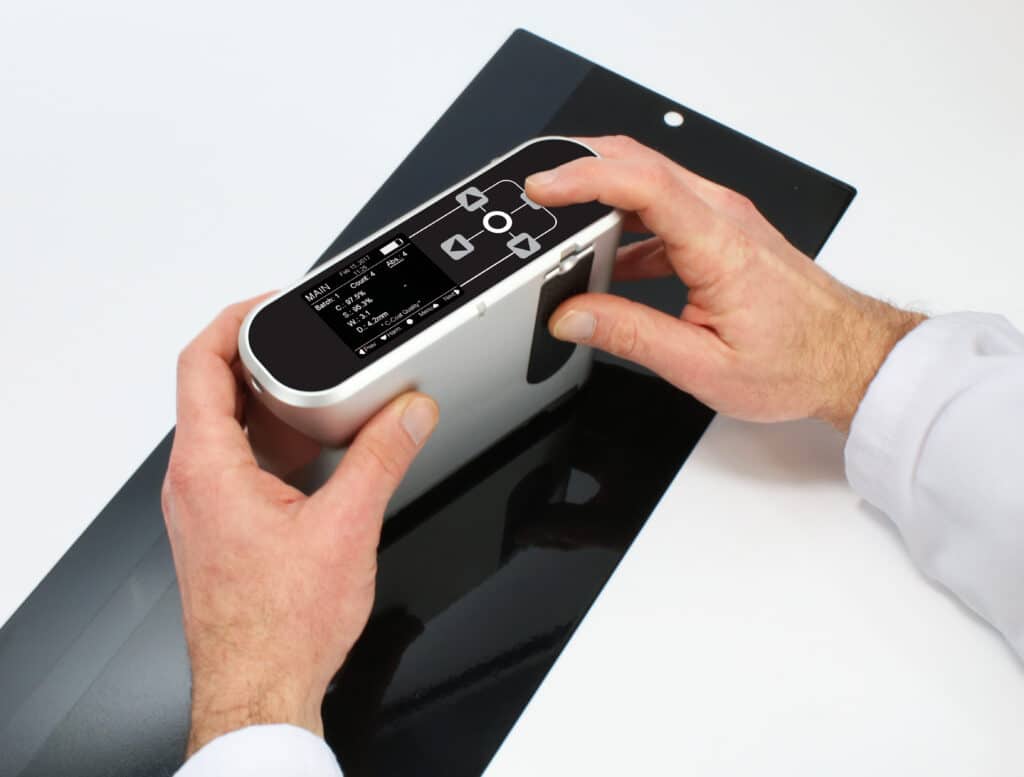
The measurement parameters of the Rhopoint TAMS® provides values for the individual elements that contribute to how the surface is viewed by the consumer (final appearance).
Sharpness quantifies the accuracy of images reflected in the surface. 100% indicates a perfect reflection.
At close distances (<0.5m) Sharpness measures how well a surface reflects fine details. At showroom viewing distance, (1.5m) Sharpness quantifies haze and clarity.
Contrast is related to the color of the surface; white and metallic surfaces have low contrast, a deep black measures 100%. Contrast influences the visual impact of orange peel and haze effects, both being more visible on high contrast dark colours.
Indicates the dominant structure size perceived at showroom viewing distance. Typical values are between 1–10mm, the dominant structure size is important in determining the harmony between adjacent parts.
Based on extensive human perception research by Volkswagen AG and AUDI AG, this value indicates the acceptability of adjacent parts. A value of >1.0 indicates that parts are not similar and if viewed together (e.g. door to door) will detract the eye from overall visual quality.
Correlated to human perception, waviness quantifies the visible impact of surface waves to an observer at showroom distance (1.5m). The waviness of a surface is critical for determining appearance quality.
One single value predicting the visual rating of the total appearance quality of a surface, with 100% indicating a smooth finish with perfect image forming characteristics.

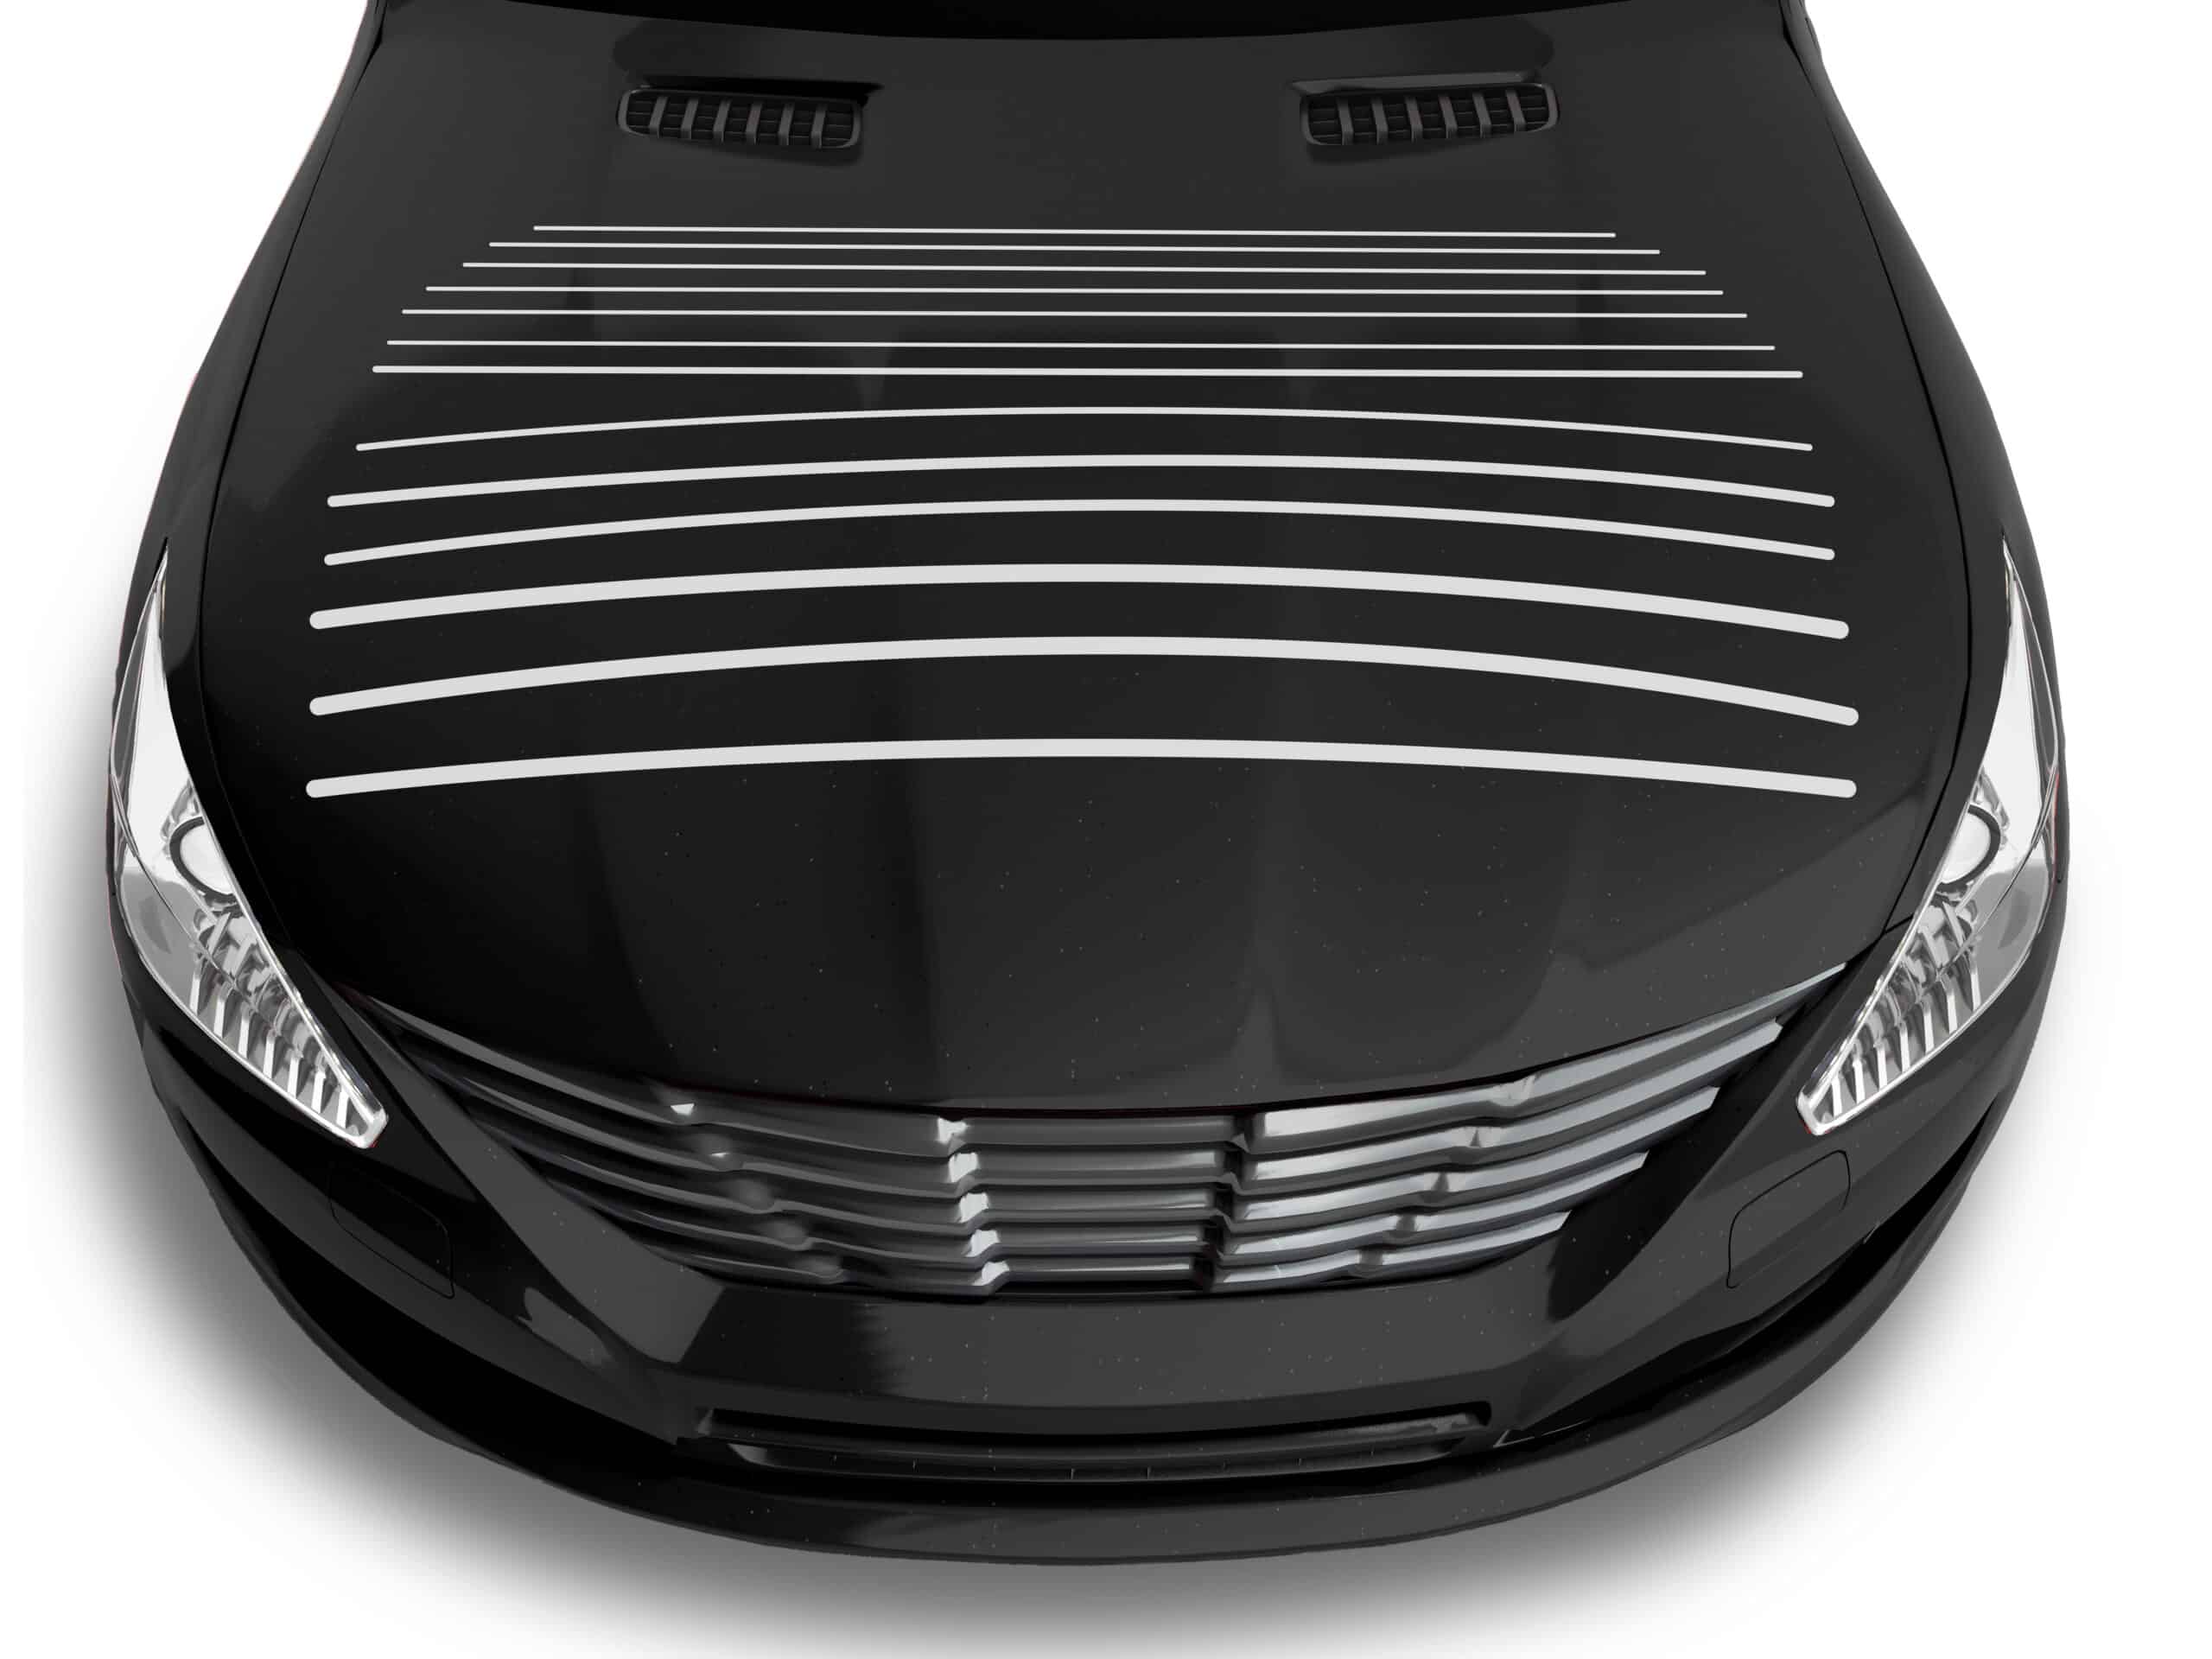
Contrast is related to the colour of the surface; white and metallic surfaces have low contrast, a deep black measures 100%.
Contrast influences the visual impact of orange peel and haze effects, both being more visible on high contrast dark colours.
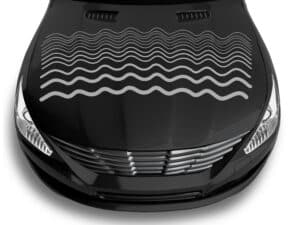
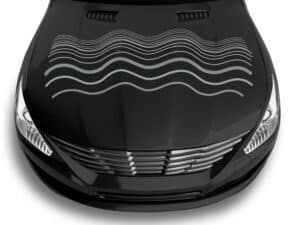
Indicates the dominant structure size perceived at showroom viewing distance. Typical values are between 1–10mm, the dominant structure size is important in determining the harmony between adjacent parts.
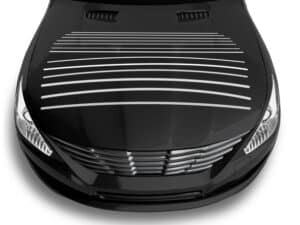
Sharpness quantifies the accuracy of images reflected in the surface. 100% indicates a perfect reflection.
At close distances (<0.5m) Sharpness measures how well a surface reflects fine details. At showroom viewing distance, (1.5m) Sharpness quantifies haze and clarity.

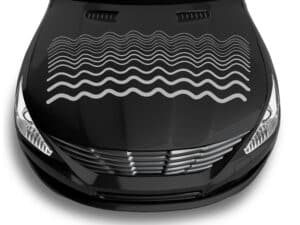
Correlated to human perception, waviness quantifies the visible impact of surface waves to an observer at showroom distance (1.5m).
The waviness of a surface is critical for determining appearance quality.
In addition to providing major surface parameters, customer visual preferences can be judged by unique Quality and Harmony indices.
One single value predicting the visual rating of the total appearance quality of a surface, with 100% indicating a smooth finish with perfect image forming characteristics.
Based on extensive human perception research by Volkswagen AG and AUDI AG this value indicates the acceptability of adjacent parts.
A value of >1.0 indicates that parts are not similar and if viewed together (e.g. door to door) will detract the eye from overall visual quality.
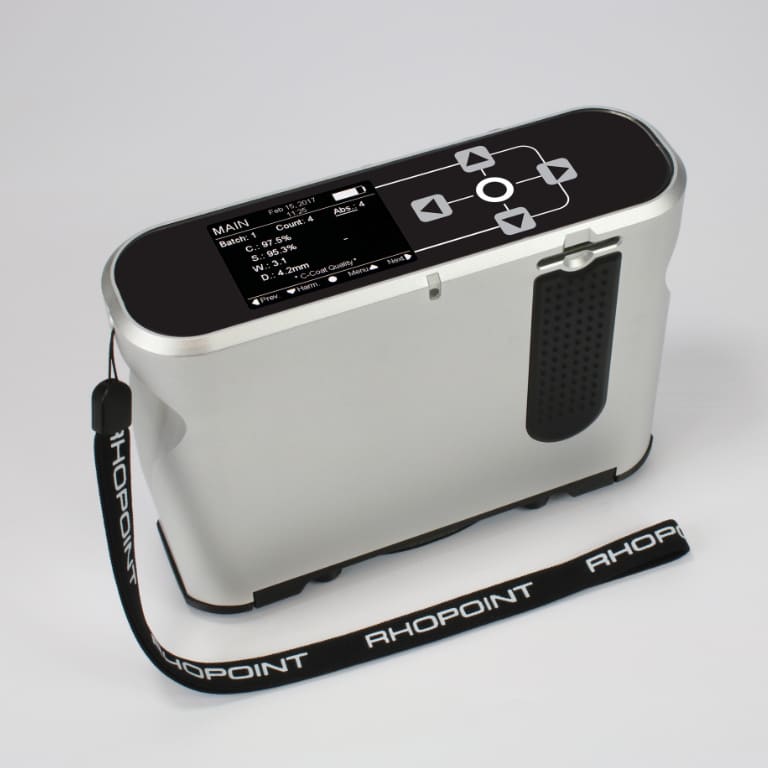
The Rhopoint TAMS is made from an all aluminium construction which means it can be recycled at the end of its long life.
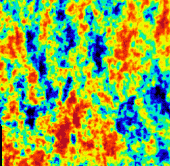
Rhopoint TAMS® allows the quality of each stage of a typical coatings process to be measured and quantified
Ra0.8=0.4μm
Wa10-50=0.59μm
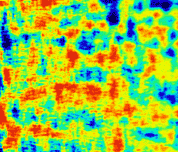
Ra0.8=0.10μm
Wa10-50=0.17μm
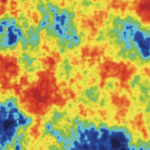
Ra0.8=0.19μm
Wa10-50=0.34μm
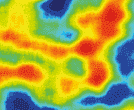
Ra0.8=0.02μm
Wa10-50=0.21μm
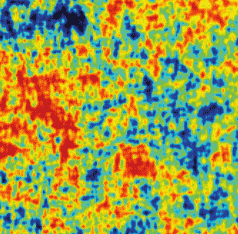
Ra0.8=0.32μm
Wa10-50=0.32μm
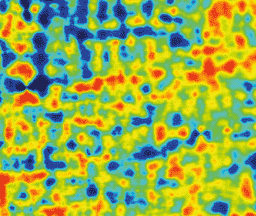
Ra0.8=0.13μm
Wa10-50=0.21μm
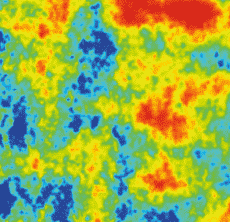
Ra0.8=0.14μm
Wa10-50=0.29μm
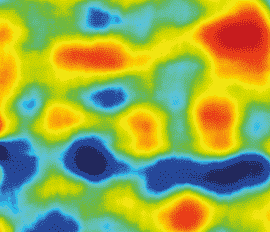
Ra0.8=0.03μm
Wa10-50=0.29μm
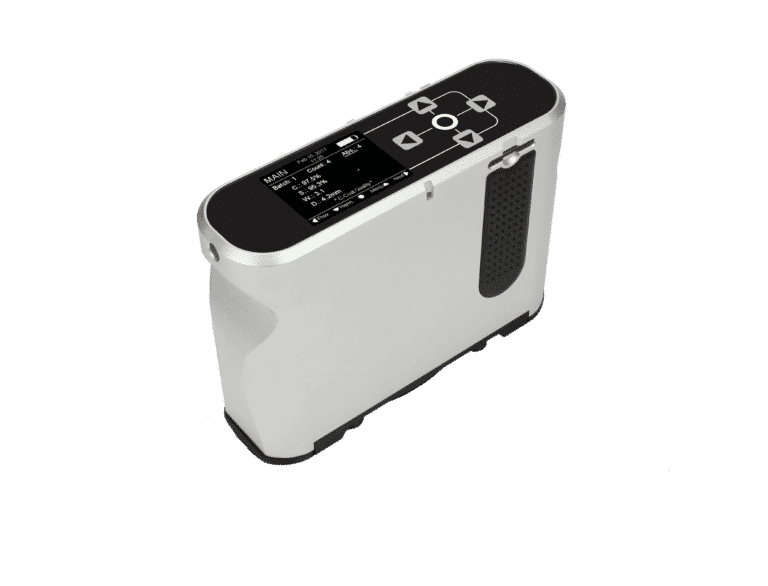
Full colour IPS screen
5 capacitive sense buttons
Does not damage delicate surfaces
Tactile button & capacitive sensors with a push auto system
Capture and processing time = 10 seconds
Rechargeable & removeable lithium polymer batteries
| Sharpness | ||
|---|---|---|
| Units | S (%) | |
| Minimum (No visible reflection) | 0 | |
| Maximum (Perfect mirror) | 100 | |
| Resolution | 0.1 | |
| Repeatability | 0.1 (SD) | |
| Reproducibility | 0.5 (SD) | |
| Measurement Technique | Optical Transfer Function | |
| Waviness | ||
|---|---|---|
| Units | W (W units) | |
| Minimum | 0 | |
| Maximum (typical) | 30 | |
| Resolution | 0.1 | |
| Repeatability | 0.2 (SD) | |
| Reproducibility | 1 (SD) | |
| Measurement Technique | Reflected Image Line Deformation Analysis | |
| Correlation | AUDI AG MDS Perception analysis | |
| Quality | ||
|---|---|---|
| Units | Q (%) | |
| Minimum | 0 | |
| Maximum (typical) | 100 | |
| Resolution | 0.1 | |
| Repeatability | 0.8 (SD) | |
| Reproducibility | 1 (SD) | |
| Algorithm | Calculated using Sharpness & Waviness | |
| Correlation | AUDI AG MDS Perception analysis | |
| Contrast | ||
|---|---|---|
| Units | C (%) | |
| Minimum (Perfect Diffuse White) | 0 | |
| Maximum (Perfect Black) | 100 | |
| Resolution | 0.1 | |
| Repeatability | 0.1 (SD) | |
| Reproducibility | 0.3 (SD) | |
| Measurement Technique | Optical Transfer Function | |
| Dimension | ||
|---|---|---|
| Units | D (mm) | |
| Minimum | 0.5 | |
| Maximum (typical) | 8 | |
| Resolution | 0.1 | |
| Repeatability | 0.1 (SD) | |
| Reproducibility | 0.4 (SD) | |
| Measurement Technique | Phase Measurement Deflectometry | |
| Correlation | AUDI AG MDS Perception analysis | |
| Harmony | ||
|---|---|---|
| Units | H (H units) | |
| Minimum | 0 | |
| Maximum (typical) | 8.9 | |
| Resolution | 0.1 | |
| Repeatability | 0.1 (SD) | |
| Reproducibility | 0.4 (SD) | |
| Algorithm | Calculated using Waviness & Dimension | |
| Correlation | AUDI AG MDS Perception analysis | |
| Instrument Information | ||
|---|---|---|
| Fully enclosed unit with integrated capture and analysis | Yes | |
| Measurement Area | 50 x 60mm FOV (field of view) | |
| Compatible results | with Rhopoint TAMS™ | |
| Capture Time | <2 Seconds | |
| Spatial resolution | 32um / pixel | |
| Results output | CSV | |
| Positioning error detection | Yes | |
| Calibration station for instrument check and focus setting | Yes | |
| Inbuild optical component contamination reduction system | Yes | |
| Power and Connectivity | ||
|---|---|---|
| Connection | LAN Ethernet | |
| Flexible connection options | Yes | |
| Power | 24 Volts (max current 3 Amps) | |
| Range of robot mounting options | Yes | |
Free extended 2 year warranty: Requires registration at www.rhopointamericas.com/help-services/forms-feedback/instrument-registration/ within 28 days of purchase. Without registration, 1 year standard warranty applies.
Fast and economic service via our global network of accredited calibration and service centres. Please visit www.rhopointamericas.com/help-services/calibration-servicing/ for detailed information.
Gloss is an aspect of the visual perception of objects that is as important as colour when considering the psychological impact of products on a
Identify the surface that you wish to measure. Is it a flat surface? If so, it can be measured with a traditonal glossmeter. Curved surfaces
RSpec is the peak reflectance measured over a very narrow angular band in the specular direction (+/-) 0.0991º. RSpec is very sensitive to any texture
Please note, this is NOT a quotation, just a confirmation of the price when purchased in the UK exclusive of VAT/duties