Why measure gloss?
Gloss is an aspect of the visual perception of objects that is as important as colour when considering the psychological impact of products on a
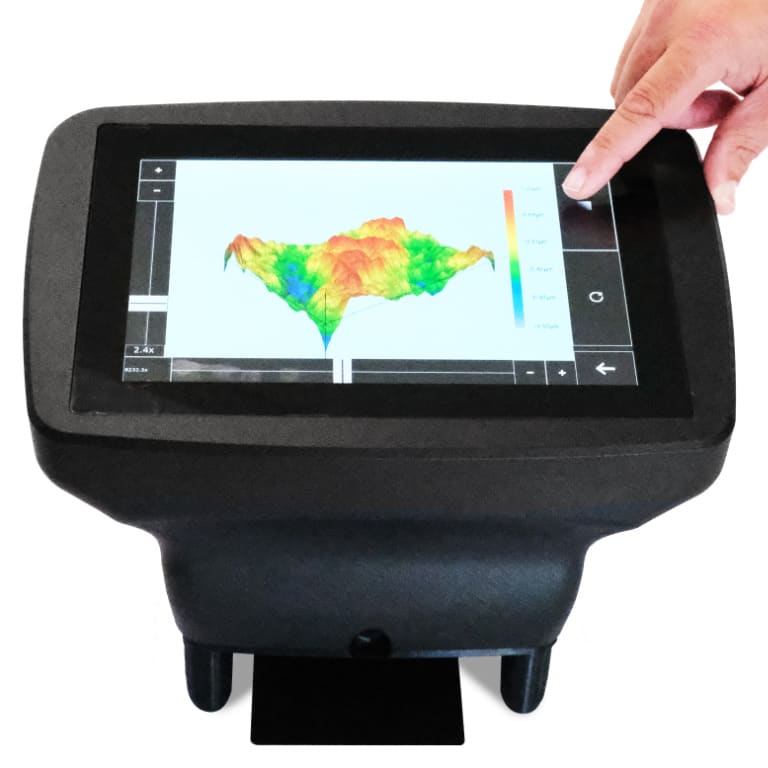
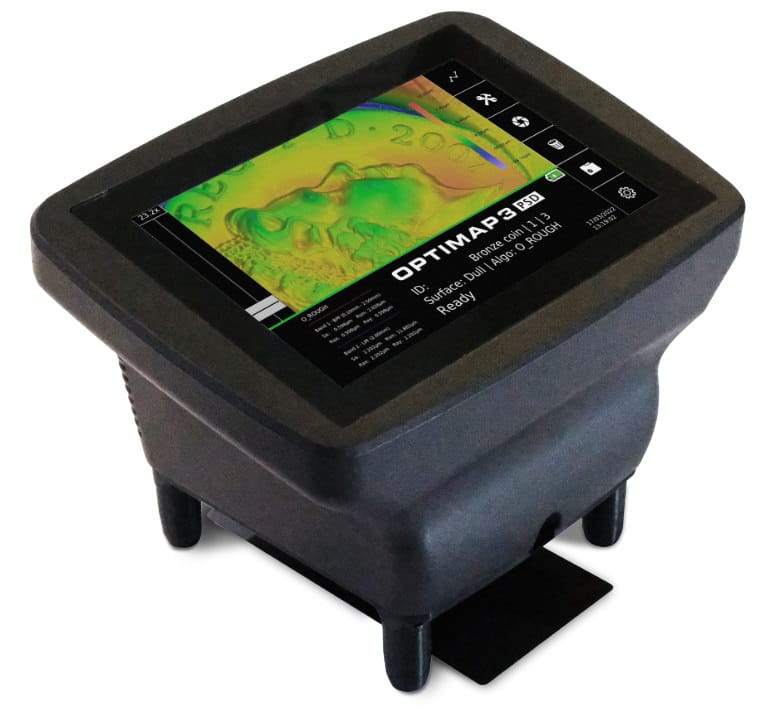
Optimap3, the unique portable solution for surface inspection, allows rapid large area measurement and analysis of all types of coated or uncoated surfaces.
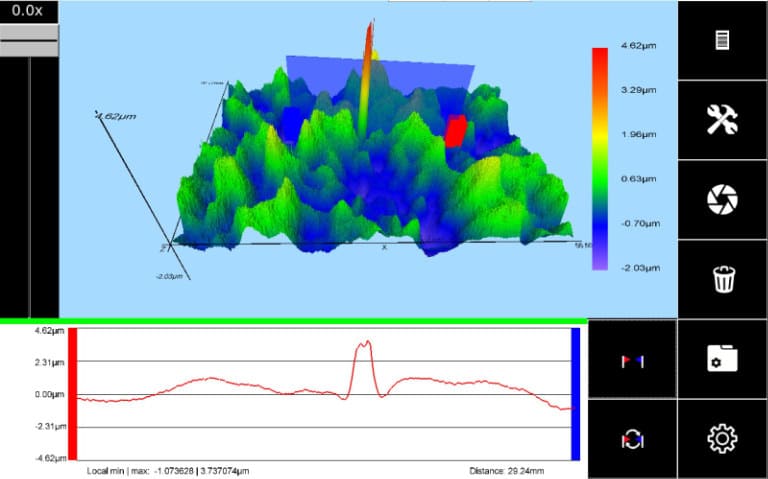
Powerful on-screen functionality includes cross-sectional viewing allowing detection and characterisation of common surface irregularities including defects and waviness.
In quality control, inferior surface evaluation methods are still commonplace. Many methods lack definition, are time consuming and subjective. Modern consumers demand high quality products with surface finishes that are homogeneous and free from defects.
The use of Optimap3 provides a unique solution to these measurement challenges providing quantifiable data for improved production control.
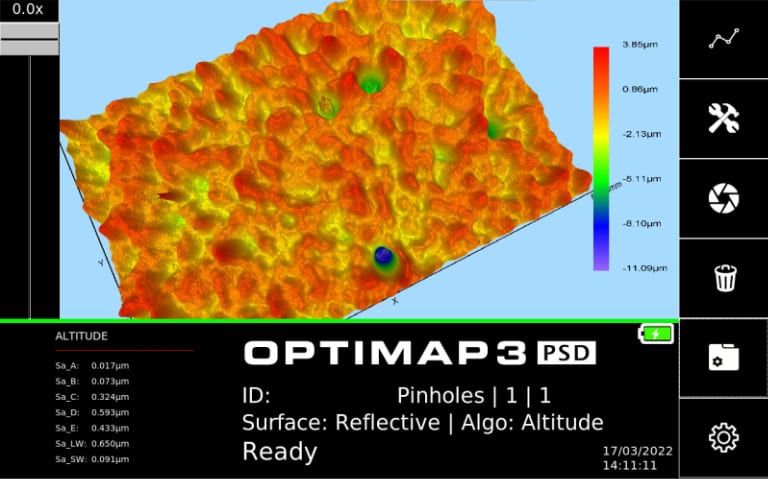
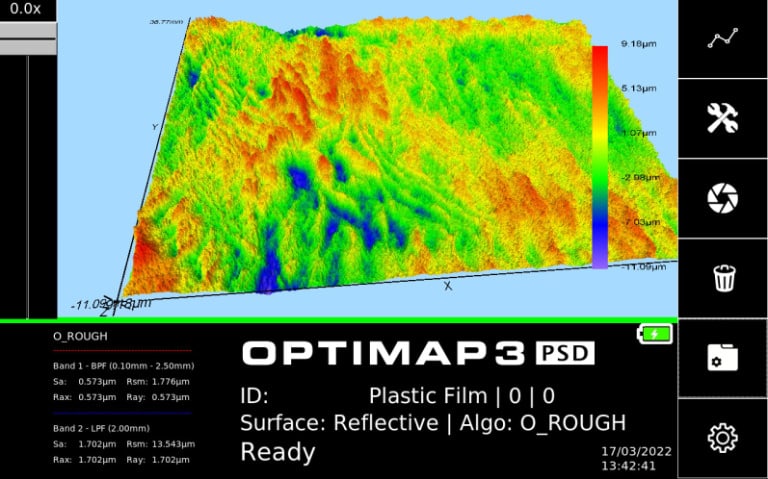
In one fast operation Optimap3 maps the topography of a surface displaying defects and texture in incredible detail. Mapped information is processed into objective surface data that can be used to effectively control product quality.
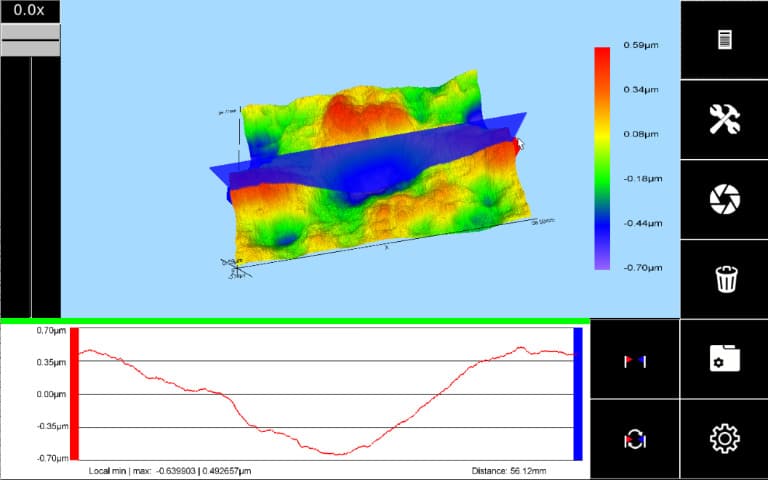
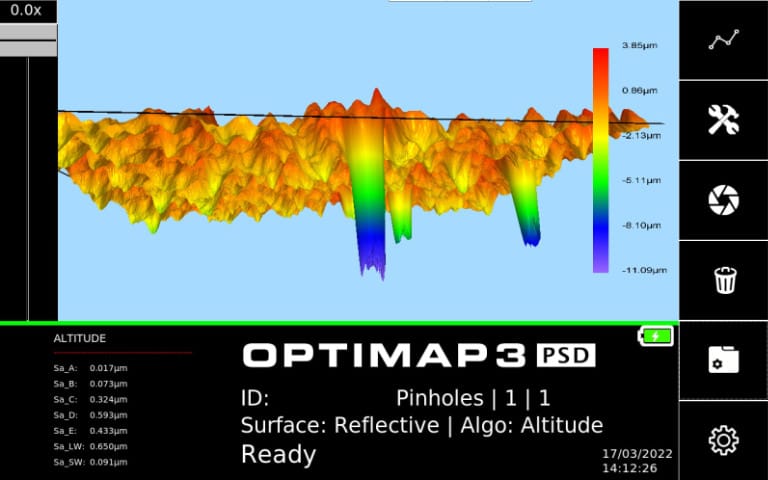
Optimap3 objectively measures and characterises many aspects of surface quality including texture, waviness and local defects including orange peel, inclusions, dents and scratches.
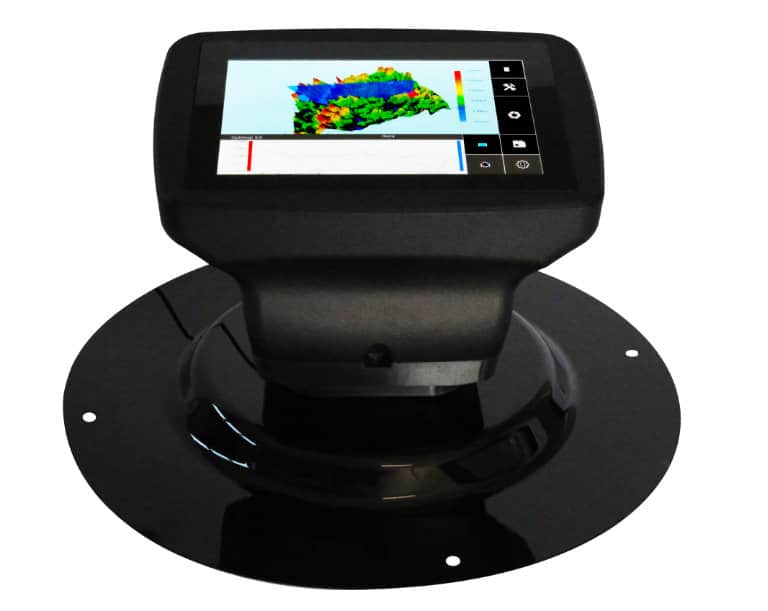
Its large measurement area (65 x 54mm) and speed of operation (under 10 secs) provides rapid measurement with results that are more representative than those made with profilometers or other optical scanning instruments and can be reported in traceable SI units or other industry specific units.
With a lateral resolution of <37um Optimap3 has the power to capture surface defects that are invisible to the human eye.
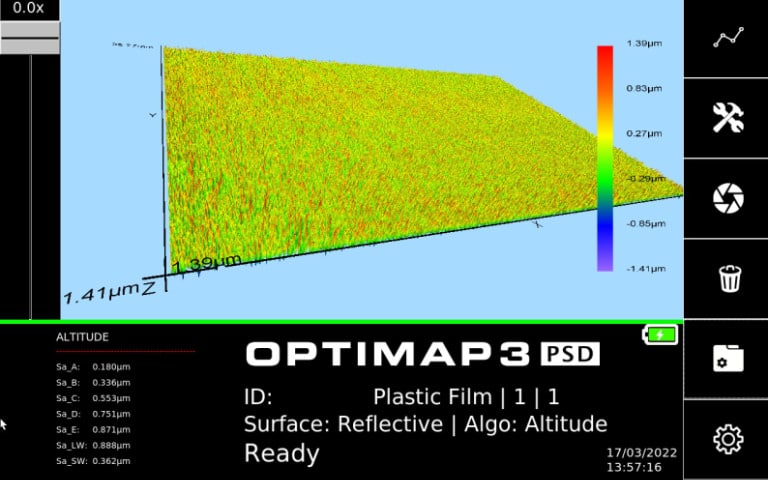
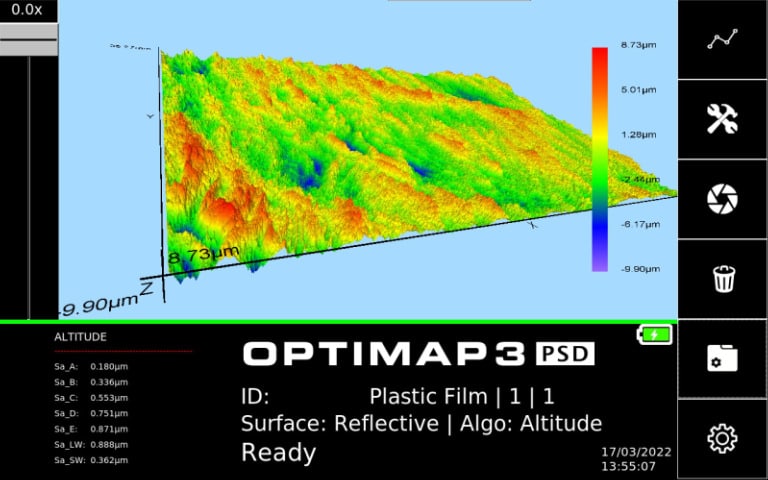
Next Generation Revolutionary Optimap surface analysis instrument.
The icon based touch screen allows ease of use by simply pressing the relevant active areas on the screen.
Allows full field measurement of surface areas to be measured in high detail
Automatically detects the reflectivity level of the surface and adjusts the setup to suit
Results comparable to profilometry and other optical measurement techniques
The ONLY product that can measure the formation of orange peel of wet paint
(TAMS and Wavescale values) used in automotive and high end applications
Optimap3’s intuitive user interface provides operation, setup and display of measurement results.
The icon based touch screen allows ease of use by simply pressing the relevant active areas on the screen.
Fringe patterns are displayed on an internal target screen.
The Fringe Patterns are animated (phase stepped) in X & Y directions.
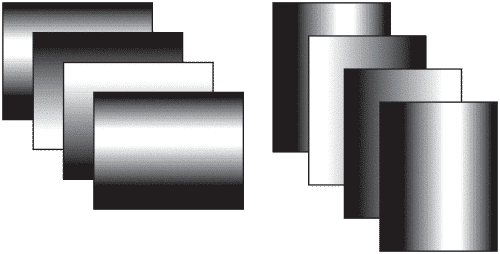
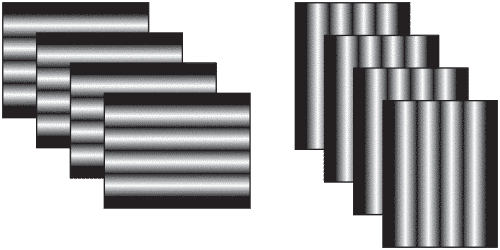
High frequency fringes are used to measure reflective surfaces – low frequency for dull surfaces.
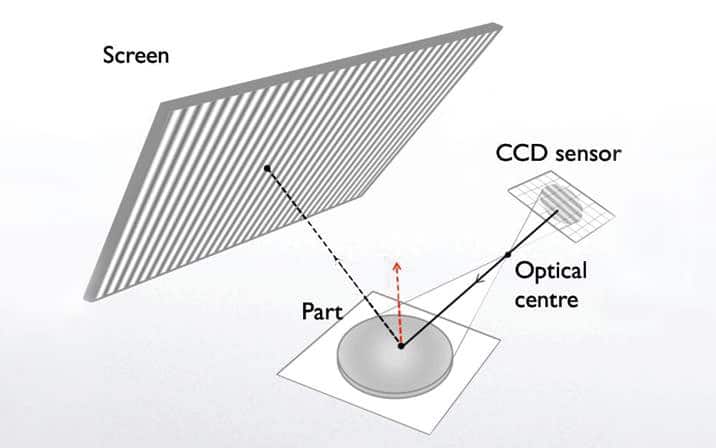
The fringe patterns are reflected by the surface- the reflection is distorted by surface texture and defects.
The reflected images are captured by an internal variable focus camera.

The built in PMD surface mapping engine combines data from 8 reflected fringe patterns to create a highly representative map of the measured surface.
Maps of surface curvature or altitude can be displayed. High resolution maps show surface texture and defects. Built in profile tool can be used to measure the height and size of surface features.
Optimap3’s intuitive user interface provides operation, setup and display of measurement results.
The icon based touch screen allows ease of use by simply pressing the relevant active areas on the screen.
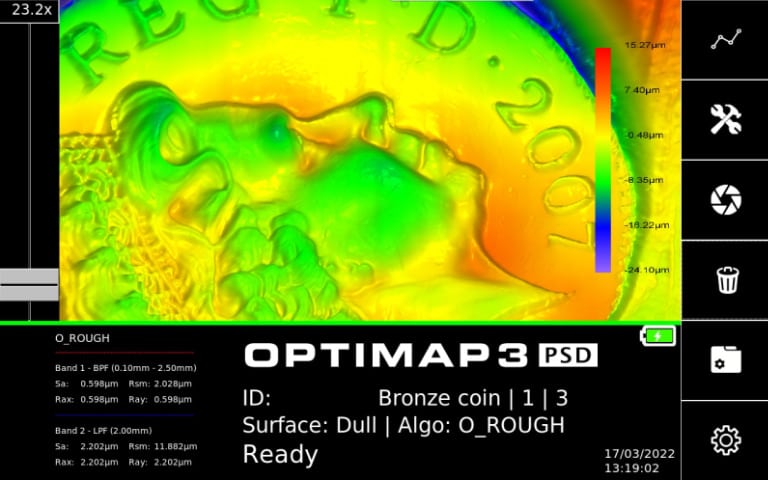
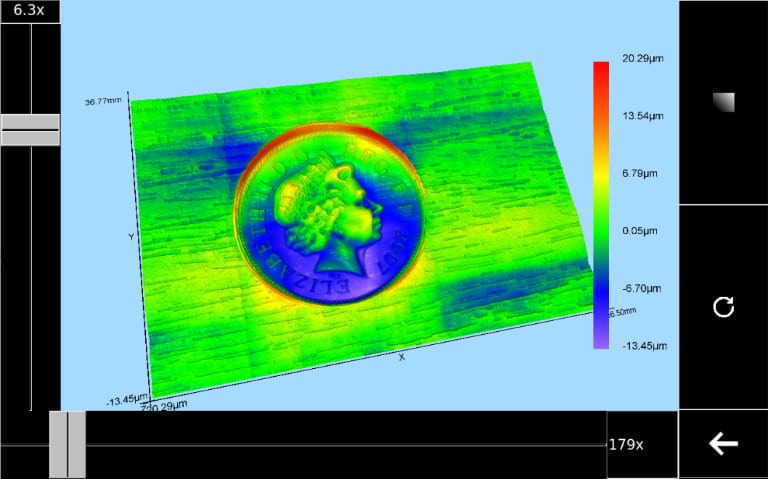
Cross sections can be created through the surface by touching the relevant point of interest on the displayed image and viewing the chart in the upper display.
The cross section is active and can be moved over the image in X and Y to view changes across the surface.
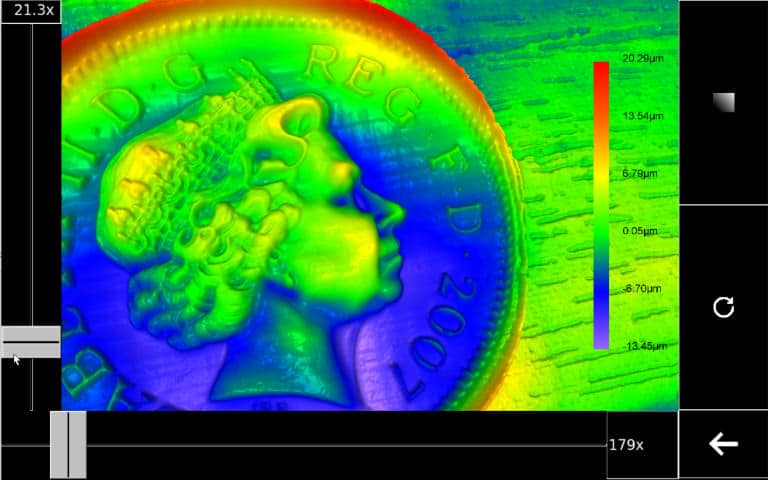
The magnification of the image can be adjusted via magnification slider.
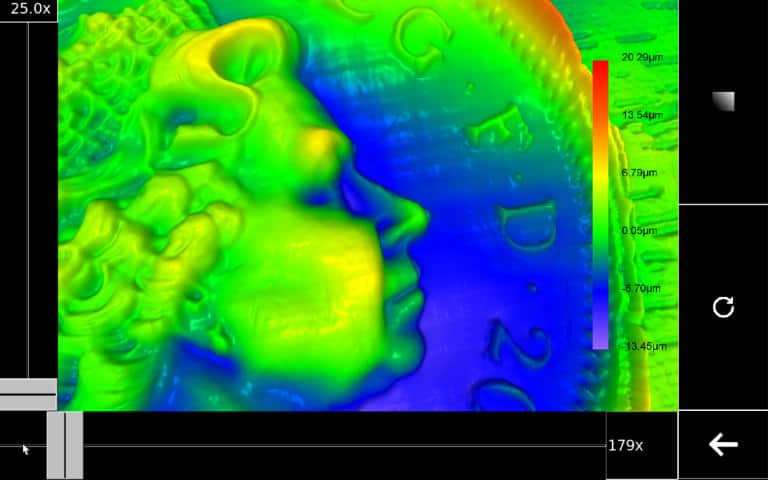
Rugged and accurate, the Optimap3 is suitable for laboratory, factory or on-site inspection.
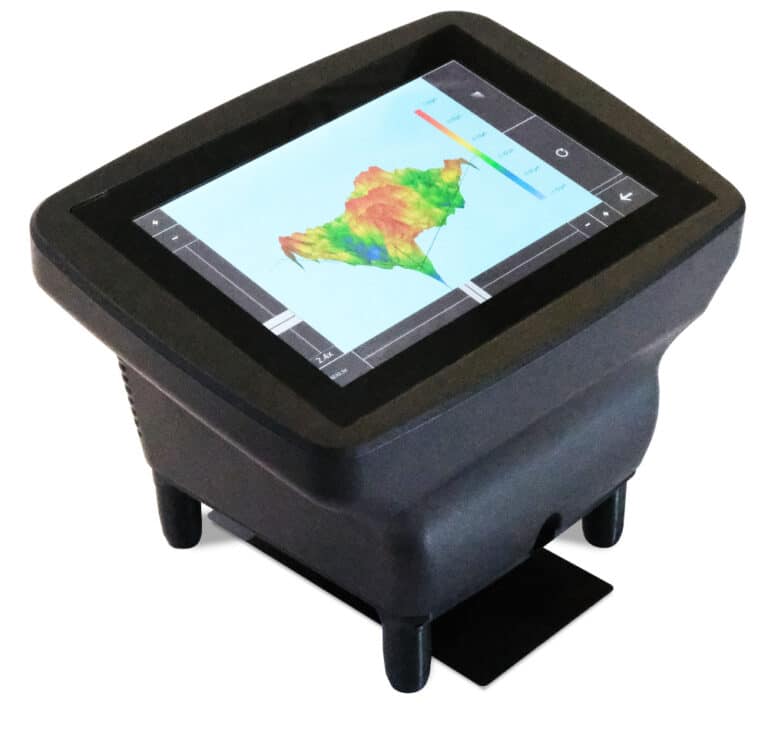
Fast easy transfer of data, images and maps
Touch screen operation means operator training is minimal
3.2 MP - dual Focus
Use with standard base or use non-contact base for measurement of wet paint films.
Bespoke bases available to for custom fit to large curved or shaped parts
Optimap3 can be harness mounted to allow fatigue free measurement in factory conditions
External connection to SPC
No movement required during measurement, preventing any damage during operation
A lateral resolution of <37um that has the power to capture surface defects which are invisible to the human eye
A large area is mapped in a single operation (65 x 54mm) in under 10 secs
The Optimap3 can be used on a wide range of surfaces from ultra low gloss to mirror finish.
Substrate, Steel, Aluminium, Plastics, E-Coat, Primer, Clearcoat, Vinyl Wrap, Chrome parts
Measurement of surface texture, appearance and detailed analysis of defects.

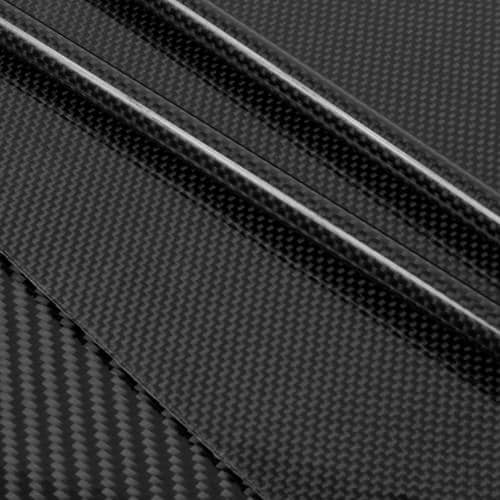
Molded parts - surface quality, primer quality and final appearance.
Defect detection, characterisation and analysis. Process optimisation to improve final appearance quality.
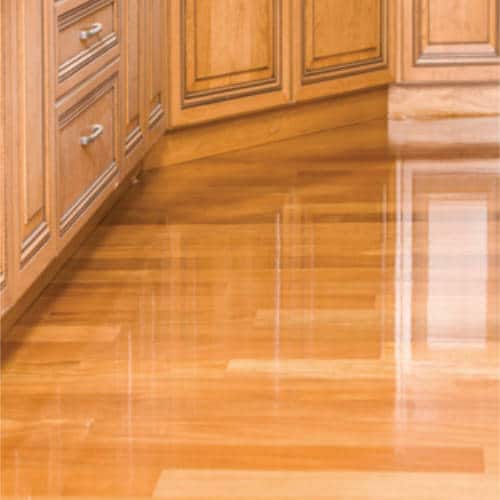
Lacquered and painted wood surfaces
Defect detection, characterisation and analysis. Process optimisation to improve final appearance quality.
Exterior, interior, wood and metal paint including non contact measurement of wet paint.
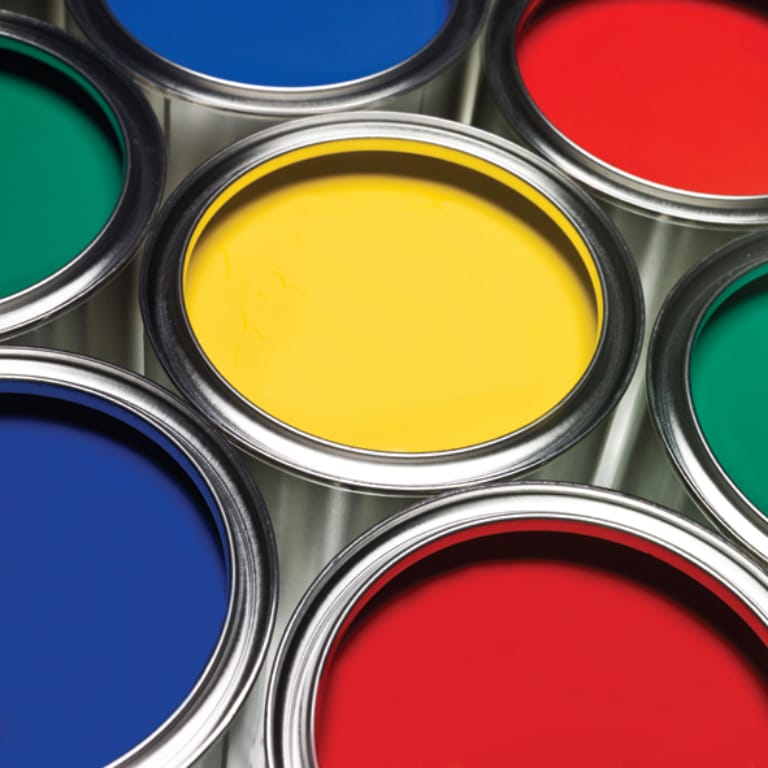
Display Films and plastics.
Reflective Appearance and surface texture.

Exterior paint quality and appearance.
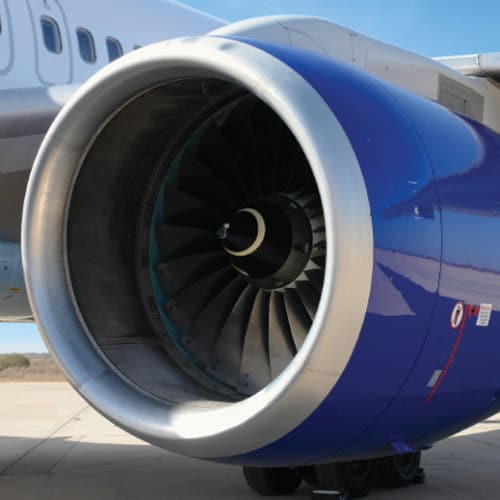
Painted parts and substrates.

Featuring advanced tools for the identification, classification and quantification of surface defects including:
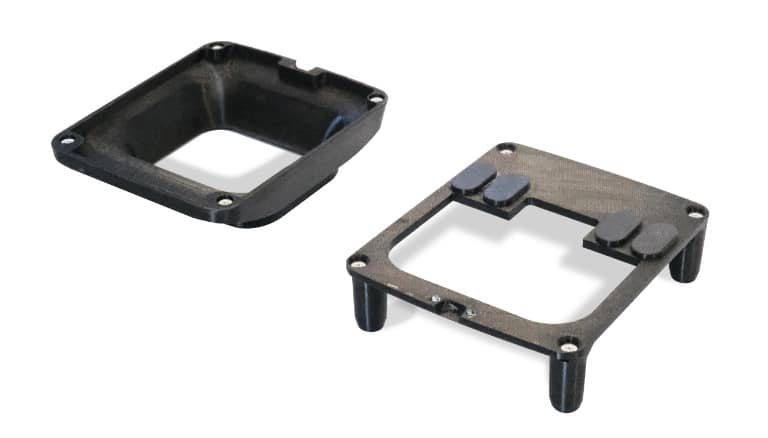
Due to the PSD measurement principle, the Optimap requires no calibration.
It is recommended however that a verification check is performed periodically (about once every 3 months) using the reference tile included with the instrument.
Verification check is simple requiring one measurement to be made and comparing the result obtained with the values indicated on the tile.
If the measured values are within the agreed tolerance then the instrument can be used. If they are outside the tolerance please contact your nearest Rhopoint Authorised Service Representative for advice.
| Instrument Information | ||||
|---|---|---|---|---|
| Measurement | Compatibility | Optimap1, 2 & 3, TAMS, RoboTAMS | ||
| Field of View | 65 x 54mm | |||
| Measurement Focus | Dual Focus - Target Images and Surface | |||
| Spatial Resolution | 37 um/pixel | |||
| Measurement Techniques | Phase Measurement Deflectometery Optical Transfer Function Line Deformation Analysis Surface Imaging | |||
| Measurement Time | 10 Seconds | |||
| Topographical Output | Curvature Map Altitude Map | |||
| Filter Options | Wavescan Band Filtering User Definable ISO GPS High Pass, Low Pass, Band Pass | |||
| Profile Analysis | Yes | |||
| Measurement Parameters | K, Ka, Kb, Kc, Kd, Ke, KLW, KSW, T, Ta, Tb, Tc, Td, Te, TLW, TSW, Q, H, S, W, D, C, RaX, RaY, Sa, Rsm | |||
| Hardware | Processor | Intel i7 Gen 5 | ||
| Memory | 256 GB | |||
| Battery | Rechargeable Lithium ion 12000mAh | |||
| Typical Use/Charge | 3 - 4 hours / charge | |||
| Camera | 3.2 MP- dual Focus | |||
| Output Data | Maps/CSV/Results database | |||
| Data Transfer/Speed | SD Card - 12.5 MBs | |||
| Display | 10.1 Capacitive Touch 1280 x 800 | |||
| Dimensions | 233mm (H) x 314mm (H) x 235mm (D) | |||
| Carry options | 6 Point harness anchors | |||
| Fixture | Removable Measurement Base | |||
| Optional Extra | Wet paint measurement Base Customisable jigs and fixtures | |||
| Weight | 3.5Kg | |||
| Interface | HMI Interface | Optimap 3 GUI- 10 point touch | ||
| SPC Integration | Yes | |||
| Connectivity | LAN USB | |||
| Order Codes | ||
|---|---|---|
| Optimap3 PSD | A7000-003 | |
| Optimap3 non-contact base for wet paint measurement | B7000-050 | |
Free extended 2 year warranty: Requires registration at www.rhopointinstruments.com/help-services/forms-feedback/instrument-registration/ within 28 days of purchase. Without registration, 1 year standard warranty applies.
Fast and economic service via our global network of accredited calibration and service centres. Please visit www.rhopointinstruments.com/help-services/calibration-servicing/ for detailed information.
Gloss is an aspect of the visual perception of objects that is as important as colour when considering the psychological impact of products on a
Identify the surface that you wish to measure. Is it a flat surface? If so, it can be measured with a traditional glossmeter. Curved surfaces
RSpec is the peak reflectance measured over a very narrow angular band in the specular direction (+/-) 0.0991º. RSpec is very sensitive to any texture
Please note, this is NOT a quotation, just a confirmation of the price when purchased in the UK exclusive of VAT/duties